Showing posts with label Planner. Show all posts

Monday, April 5, 2021

Word of the day

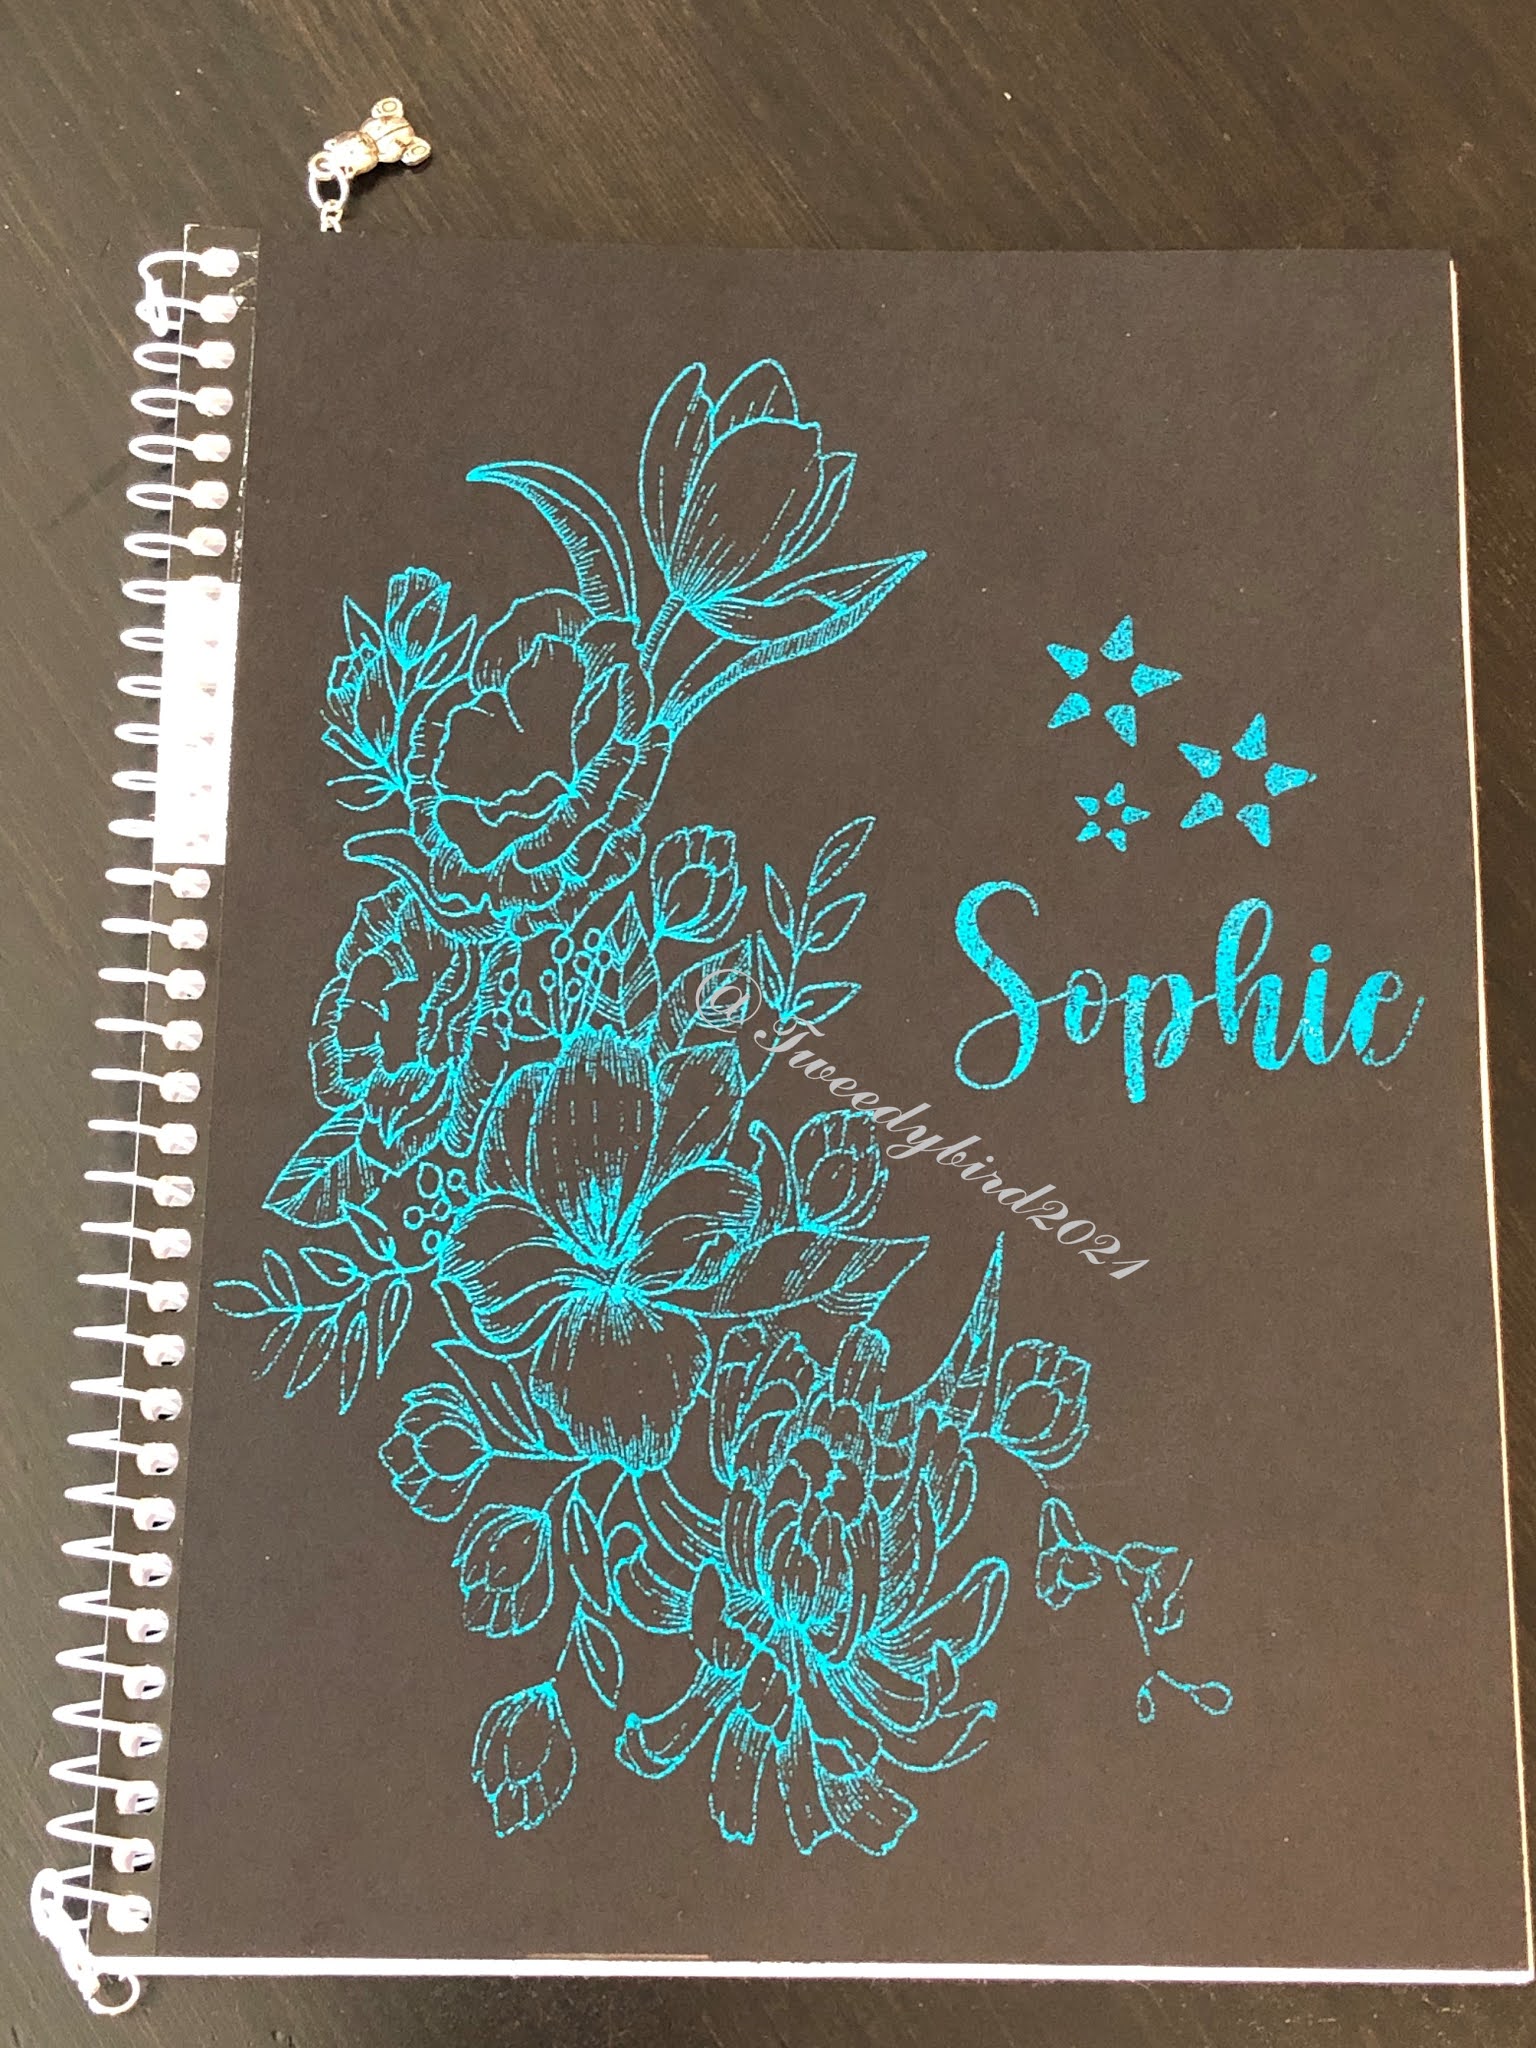
Diary....the girls have long watched me use my planner on a daily basis. And watched me evolve into memory planning (planning plus memory keeping). My biggest discovery during Covid-10 last year, was the TCMC community. TheCoffeeMonsterzCo has become my latest obsession to use in my planner. Helen (the wonderful creator) has the cutest emoti stickers. And my washi collection has grown considerably the last year. Well this week SweetieS asked me for a a lined notebook so she could start keeping a diary. Needless to say I was super happy that she has chosen to follow in mummy's footsteps (I still have all my diaries tucked away)

Since she had asked for a simple notebook I felt I needed to spruce it up a little. So I started with printing her a calendar to start of the month. And what better calendar than the freebie TCMC offers on their Facebook group? (this is the most amazing group, so I recommend joining if you need some sunshine in your life - doesn't hurt if you like planner and sticker though)

how cute is this calendar???

The cover design was chosen by the girls, both the flower (from a few I had picked out) and the foil color. I love how they turned out. Excited to see how long this hype lasts....

loving the foil


-Do you keep a diary?

Friday, December 20, 2019

Book reports

Last week I attended a meeting with SweetieS school teacher. In the meeting we were discussing SweetieS progress in the different school subjects.

In the past year she has made good progress when it comes to reading and writing. But sometimes I feel SweetieS gets bored and doesn’t want to whether read or write. When the teacher showed me a few pages of stories they have been writing in class I got the idea of book reports. Using a creative way to combine reading and writing would hopefully keep SweetieS motivated.
Inspiration
This is a stamp I bought of Aliexpress, from this listing. But the stamped image will be to small for SweetieS to use as her hand writing still needs practice..and shrinkage if it is to fit inside this print.

As the concept of books reports have yet to be introduced in class yet, I made an example for SweetieS to reference. Writing a few lines in her own words about the story line in the book will make SweetieS both reflect over what she just read and describe the story line in her own words. Hopefully this will keep things interesting.
Been a while since I wrote a book report 
As for the rating of the books. We are going for a star system. We haven’t decided if we are going to just  color in the stamped stars or if we a using stickers. For now we will use the stamped stars as placeholders. The star stamp is an old Stephanie Bernhard stamp I've had for years (pre Stamps of life) so I don't remember the set it came in, but here you can use any small stamp you feel like. I ordered these star stickers of Aliexpress if SweetieS opts for stickers.

Me being big planner fan, of course I have made planners for my girls. For now these pages are inserted into SweetieS «training planner». It also holds pages for her to practice her writing. I just printed some pages I found on Pintrest. Like these.

-how do you keep your kids inspired when it comes to reading and writing?
-what pages does your kids have in their planner?

Friday, November 1, 2019

Inspired by Britney

Spears....really? Well kinda, I was inspired by the colors on the packaging of Britneys perfume «Midnight fantasy».
loving the color scheme

With November just around the corner, I thought I might as well start planning my next layout in my planner. Yes this is yet another planner post (not gossip related as the title might have suggested, sorry!)

The first week of November will be quite hectic for CasaR, so might as well take advantage of the free time I had this weekend.

With the color scheme planned, I kinda had a sense of the layout I wanted to aim for...stars and galaxy of some sort. 
playing with the colors

Finally got to try out the markers I ordered on Aliexpress a while back. This one to be exact. I opted for the 100pack. Not sure I need this many colors, ever...I used the markers on an acrylic block (I wound up using a longer block than the one in the picture), sprayed some water on it and pulled it across the pages in a diagonal line. When the paper had dried, I went over with a Wink of Stella clear marker to give is some  sparkle.

Tried to catch the glitter sparkle on the left side

Then I went over with a number stencil and wrote up the days of the week with the purple marker I had used for the «galaxy» stripe.
The result
Quite happy with the end result. Now to fill out alm the plans for the coming week.
-have you been inspired by any celebrity?
-what theme do you have for November in your planner?

Monday, September 9, 2019

Planner and knitting

I know I’ve been MIA a while. With SweetieS starting school last fall and SweetieL being a handful I just haven’t had the energy to sit down and post. And I see that this blog is suffering the consequences.
But here is a post from me, still alive and kicking.
Eventhough the Summer has been knit free, I still have a few post coming on knitting….one of the things I have incorporated in my planner is an analog log of my knitting. So hopefully when I sit down to blog about a project it hasn’t all gone to LaLaLand. In this spread I make notes of what yarn, pattern and needles I have used. Also with a note of whom it was knitted for. After I got the Polaroid zip I even started adding a picture of the finished project.


before the pen
filled in
over to the next project of the day. Cleaning up after our fireplace was changed earlier this month….
- what have you been doing this Summer?

Monday, March 18, 2019

a kind of a bullet journal

or should I call it dot journaling? It’s been a while since I last blogged about my planner. Mostly because I have forgotten….spent too much my researching my newfound love for bullet journals. New for 2019 is the use of dot journaling or bullet journaling as many call it (though as far as I have understood the term is overly used)
For now, I have the same weekly spread throughout the month, but I am thinking about changing it more frequently. And new with my dot journal, is the use of monthly covers. I like that the monthly cover sets the theme for the month.
my January and February cover and layout before the pen

I’m not true to the Ryder Carroll bullet journaling style as I don’t use the all the bullets and the yearly, monthly, weekly and daily drill down. I just jot down what I need to remember, when I need to remember it. Very plain and simple. My planner is still a place for my memories as I still don’t feel I have time to sit down and scrapbook, so I will be going for a weekly layout that allows me to put in a picture or two along with some extra notes.
The result is still two pages weeklies….but now I can change out the layout from month to month, or even from week to week. Since I still use a ring planner, I can move/add/remove pages as I feel like. I use dotted pages I downloaded from wellella. Thank you! You made my transition into dot journaling much easier. This way I get the planner pages I need/want and just the amount of creativity I want.
-do you bullet journal?
-what is your “style”?


Friday, November 4, 2016

Foiled dividers

Heard of the minc machine by Heidi Swapp? If you’ve heard of it you know what this post about. If not…take a look at this video


the wonderful Jennifer Mcguire recaps foiling in a great way

Since I have a laminator, I had to give it a try. But getting a hold of foil paper was more expensive than I thought. There are so many beautiful colors to choose from…what color to choose? Well actually I wound up with another option. Instead of using the recommended foil paper, I used foil meant for nail design, since I had it laying around from an earlier nail project. And the results…really nice

Bilde 04.11.2016, 21.49.19 Bilde 04.11.2016, 21.49.28 Bilde 04.11.2016, 21.46.53

This only works with toner printed so I printed a few transparencies with beautiful black and white patterns I found online. As I wanted to make new dividers for my planner, I cut them into size before foiling them.

With the hearts divider, I choose to make one heart in another color….so I added a silver heart…

Bilde 04.11.2016, 21.47.08

Still waiting for a copper and turquoise colored foil for the last dividers. So still missing the last of my new dividers for my planner setup for 2017… Oh and I used these nail foils…bought of ebay of course…

- have you tried foiling with a laminator?
- what are your 2017 planner plans?

Now what to foil next?

Friday, October 7, 2016

Planner archiving

This week I suddenly got the urge to look at storage options for my used planner pages. After my post about using my planner to document more memories (post here) I realized that now I really can’t throw away my old pages. With the planner community so big, I started “reasearching” how others do it.

I wanted a solution that;
- wasn’t too bulky, as I will be using planners years to come
- doesn’t take up too much space
- easy to look up/flip thru
- wouldn’t break the bank

I ordered a 6 ring folder of Ali a while back that I have used to keep my past planner pages if my planner was getting full (this one…). It has been very practical as it had 6 rings just like my planner(s). I thought about buying more of this folder to organize my “planner past”. But I soon realized that it would be too bulky. I only use week on two pages and monthly pages to the folder would be too big for a year of pages, and (I think) too small for two years. This solution might work for some…just not me. So back to the drawing board.

Yesterday I think I landed om a solution that fullfills my “wishlist”. And it is as simple as it is cheap, as I already had all the supplies I needed.

You need;
- transparency sheets
- exacto knif (or similar)
- elastic string
- some imagination

I designed a simple cover and printed on transparency sheets using my trusty laser printer. I lined up a page of my planner and marked of the holes. Using my exacto knife I cut slits where the holes are and feed the string thru.

Bilde 07.10.2016, 08.28.34

And there you go, a flipable archive.

- how do you store/archive your planner past?

Friday, September 30, 2016

Some here and there

After being sick the past week I haven’t had time to write a post on the things I finished before I fell ill.

Been playing around with a new monthly layout in my planner… I’m just not happy with all the work I have to put in every month and the general layout. I posted about my previous monthly layout here. My new monthly layout is a fold-out version inspired by DIYfish. I used a monthly calendar scaled down for printing from timeanddate.com. (I just need to find a sticker of some kind to cover the timeanddate logo in the top left corner Smile with tongue out)

Bilde 29.09.2016, 22.36.59

Bilde 29.09.2016, 22.37.14

Bilde 29.09.2016, 22.37.04

updated pictures of my new monthly layout

I see I haven’t posted about the change in my weekly layouts either…changed them a while back. So here is a picture of the layout I’ve been using lately…plain and simple.

Bilde 30.09.2016, 20.55.49
last week

I changed the weekly layout when I found that I just needed more space to write. As an early (or late) Christmas/birthday for myself, I bought me an Polaroid zip printer. So now I can hopefully print some pictures to my weekly layouts and have more of a memory planner touch to my planner.

You can read more about the Polaroid zip here, and buy it here (Norwegian store).

Memory planners is a concept that is fairly like scrapbooking – document your memories on a daily/weekly basis. All who know me in person know I’ve been scrapping for a while. So memory planners are just up my alley. (I haven’t scrapped for a while now….ever since SweetieL was born the day just isn’t long enough to do all I want and still get enough sleep). Heidi Swapp has some beautiful memory planners. Lots of videos about memory planners on Youtube. Like this one(by Heidi Swapp herself) or this one (by Tiffany Julia, her blog here).

- how do you document your memories?

Friday, February 19, 2016

Not too early to organize

This week I put together a planner for SweetieS. Well not so much a planner as a binder set up like a planner. Just without the calender and planning part. I bought a cute planner from Aliexpress. This one to be exact. Very cute and perfect for SweetieS.

No point in having sections that require SweetieS reading and/or writing, as she don’t do either yet.

So I set it up with fire sections:
- ABC123: for all the flash cards I make/find, in Norwegian
- 文 (zhong wen): flash cards in Chinese, preferably in Cantonese
- “free hand”; blank pages for whatever SweetieS feel putting on the pages
- coloring: coloring pages (there are tons available thru Pintrest)
- stickers: laminated colored paper for all thos stickers

I googled a bunch of Minions pictures and stuck these on dividers that I laminated before punching.

I’m pretty happy with the result…and SweetieS loved it!

Bilde 17.02.16, 19.03.03
one a happy SweetieS
Bilde 17.02.16, 19.25.58
closed planner
Bilde 17.02.16, 19.43.34
lots of those yellow little guys
Bilde 17.02.16, 19.29.51
flashcards

And to add some bling I bough a bunch of crystal keychains for SweetieS to add to the rings. Today SweetieS is in a mood for cats…

Bilde 19.02.16, 21.21.30I removed the keyring and use the hook in the planner rings

After two days of coloring I see I need to print more coloring pages…

- do your kids have a”planner”?
- what do you think of my attempt at a planner for SweetieS?

Monday, June 8, 2015

DIY planner inserts

The past few months I have been using a paper planner. I haven’t been using a planner since my university days, but earlier this year I was reintroduced to the planner society. I never knew this community was so big!
Bilde 08.06.15, 12.25.38
Since getting back into planners I have joined a few Facebook groups and played around with my planner.
Not finding a planner page layout quite as I wanted it, I wound up making my own. All you need is a word processing software and some creativity and you're good to go! I used Microsoft word to create mine… As I use an A5 planner, it works great to make them in A4 and just scale down to A5 – printing two pages at a time! Cut in half and hole punch. I use a hole punch bough on AliExpress, this one to be exact. Like that the holes are adjustable – in case I ever change planner size. All other options I had available where too costly on the shipping front. So far I’ve punched quite a few pages and still working smoothly for me.
So far my planner consists of MO2P – month on two pages, and WO2P – week on tw pages. Both undated so just print as many as need be. After using them for a few months now I’m pretty happy with the layout.
I promised on one of the planner Facebook groups I’m in that I would blog and post online when I got the chance. So better late than never Smilefjes som blunker
The files I have uploaded is in Norwegian, but the pdfs are editable - I think - so you can change the text using Adobe Reader – let me know if that is not the case. I don’t have Reader available on the computer now so can’t verify before posting this.
PlannerMontage
I purposely left out any coloring as I decorate my pages using washi, colorful pens, stickers and cute post-its. So here they are:
- Week on two pages (WO2P)
- Month on two pages (MO2P)
And here a few decorated examples from in my planner….
Bilde 08.06.15, 13.50.37… the month of May
Bilde 08.06.15, 13.51.01
… a week in May
Well off to decorate the pages for the next two weeks as I will be travelling and not bringing my “planner stash”…
- do you decorate your planner pages?
- storebought or DIY planner pages?

Wednesday, April 29, 2015

Tiny alphas

Since joining different planner and pocket letter groups on Facebook, I have gotten so many tips and so much inspiration. The other day I came over a blog post about how to make my own tiny alphabet stickers. Since I had all the tools necessary I felt I had to give it a try.

Here are some of the groups I have joined, these have some wonderful and very creative members:
- Pocket Letter Pals
- planner, Journals and everything in between!

What you’ll need;
- sticker sheets (I bought mine at Staples) like these
- an exacto knife
- metal ruler

Instructions are available in the blog post here. Now I finally have a simple way to create alphabet letters, and I even get the Norwegian letters æ, ø, å.

Bilde 29.04.15, 19.43.23
my first batch

It took some time putting a word file together, with all the letters and characters I wanted. I would up with a table consisting of 25 columns and 26 rows all fitted in a A4 sheet of paper. Let me know if you want the Word file I created as a template and I’ll email it to you. After printing my first batch and using them to make a pocket letter I will make the next letters a tad bit more narrow. Next time around…

Bilde 29.04.15, 19.52.28
Aren’t these cute!

Still need to work out how much pressure to use when cutting the printed sticker sheets. My first attempt yielded full sheets though some more cut than others.

- do you make your own stickers?

Now off to watch an episode of The 100.

Wednesday, April 22, 2015

Oh so shiny

The latest craze on the scrapbooking front seems to be gold foiling everything. After I saw a video posted by Jennifer Mcguire (here) I‘ve been looking at more and more shine stuff. As I have too much scrapbooking stuff already I haven’t allowed myself a trip to any hobby stores of any kind.

I haven’t made a big effort at finding the foils Jennifer used as scrapbooking stuff tends to by quite expensive here in Norway. The other day I came over nail foils in different colors. Available here on Ebay. These come in rolls of 4 cm wide and different lengths. As I only paid 1USD for a meter, I thought I would give it a try. I already have a laminator and a laser printer…so I thought I would try foiling using the method Jennifer describes here.

And I’m first try….

Bilde 22.04.15, 21.14.05

I printed a nice quote and foiled the heart. I found the original picture on Pintrest, and is available here. I've made a note that this technique works best with black and white pictures where there is no grey zones. So the text in the heart aren’t as crisp as the rest of the heart. All in all a fun first attempt.

I think this will be going into my newly setup planner (think that will be a future post). Just need to do some measuring to see if it need any cutting before punching holes…

Think I will be expanding my “stuff” with a few rolls of these foils.

- have you jumped on the foiling craze?

Related Posts Plugin for WordPress, Blogger...